The Devil is in the Details: Adjusting Motorcycle Valves
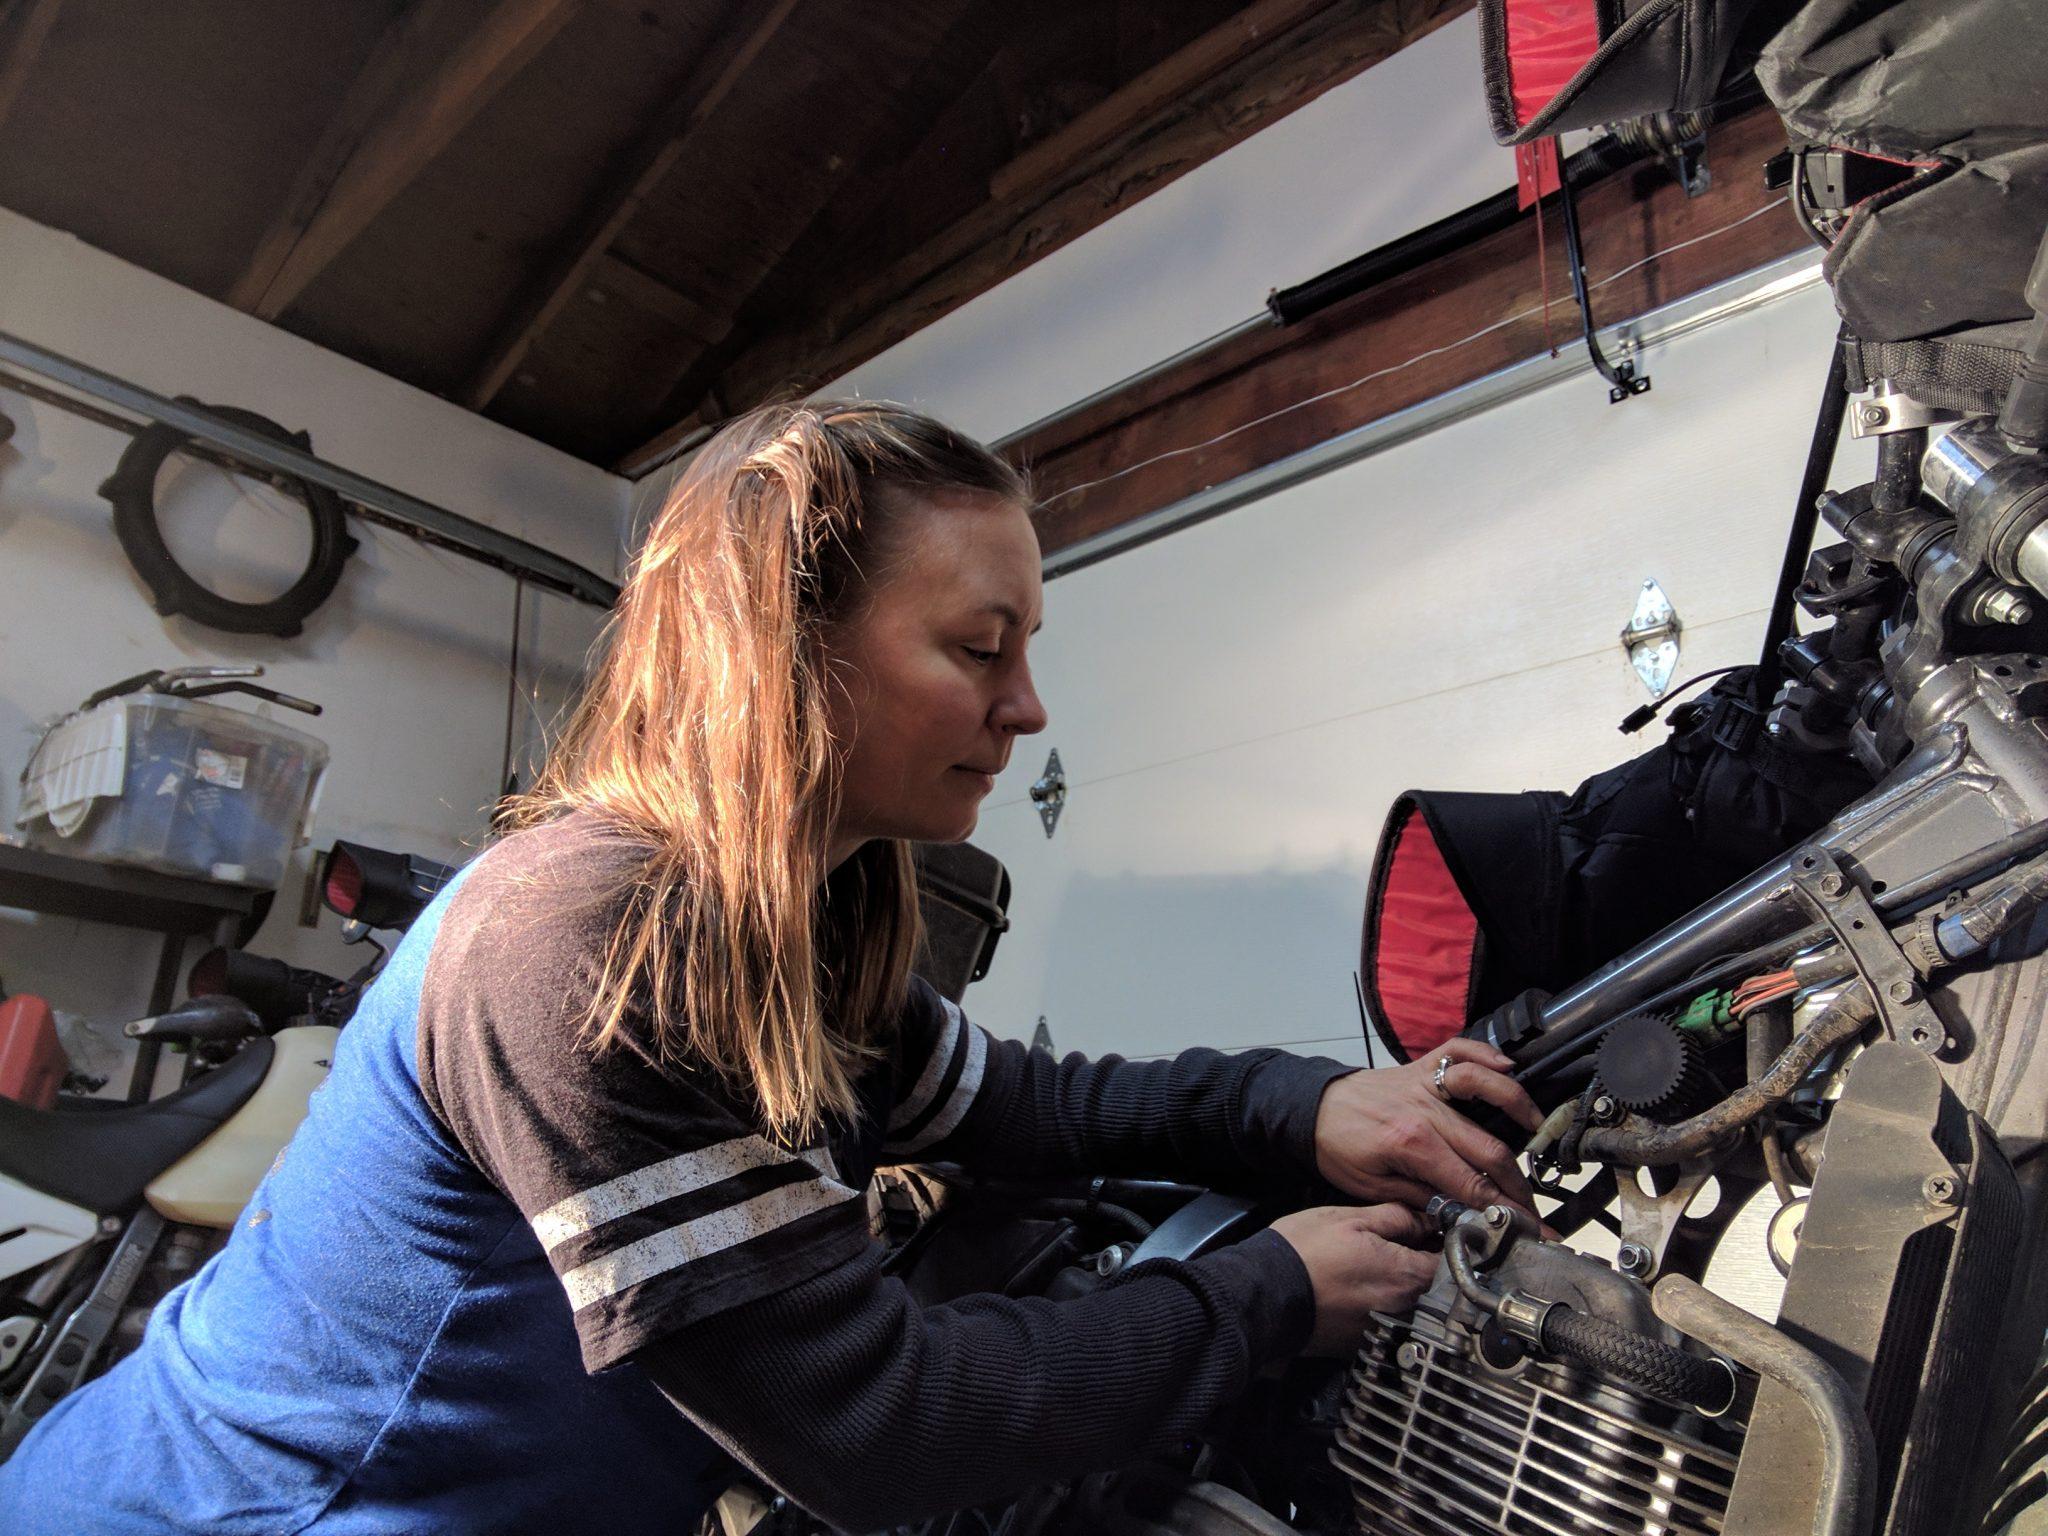
BY KRIS AND NATHAN FANT
Adjusting motorcycle valves is both an art and a science. The valves in your motorcycle engine serve two purposes: to bring fuel and air into the engine, and to allow burnt gasses out of your engine.
The intake valves allow a mixture of fuel and air into the cylinder as the piston goes down. Those valves then close, and the piston comes up and compresses the air. The spark plug fires, forcing the piston down, and as the piston comes back up, the exhaust valves open to allow the burnt fuel to leave your engine. This amazingly simple process creates enough power to move your motorcycle.
Why Valves Need Adjustment
In order for this process to work, the valves need to create an airtight seal on the cylinder head. When the engine is cool, there is a very small amount of space (10ths of a millimeter) between the adjuster and the valve stem. This tiny gap is called valve lash. Over time, this gap gets smaller and smaller due to wear. Eventually, the valves are unable to close fully making a seal inside the combustion chamber impossible.This can lead to poor gas mileage, rough running, difficulty starting, and, if left for too long, can cause the engine to not run at all.
When to Adjust Valves
Most service manuals have intervals for valve adjustment as part of basic bike maintenance, usually every oil change or every other oil change. Valves are more likely to need adjustment when the bike is fairly new, or very high mileage. You may also find your valves need adjustment when your bike starts randomly dying at stop lights, like mine did recently.
How to Adjust Valves
(or better titled, How I Adjusted the Valves on my DR650)
This is the amateur mechanic’s description of the valve adjustment process on a Suzuki DR650, with the humorous outtakes thrown in at the end. Always check your service manual and find knowledgeable assistance if this is new territory for you. Shim style adjustments differ from the rocker arms and screw type adjusters shown here.
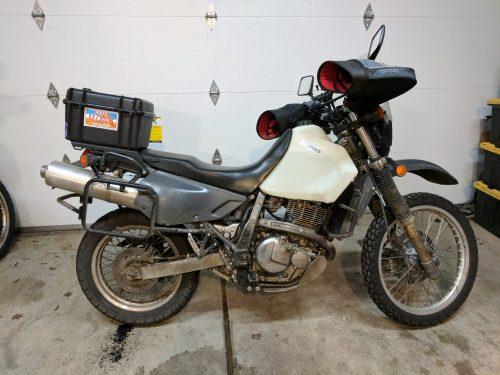
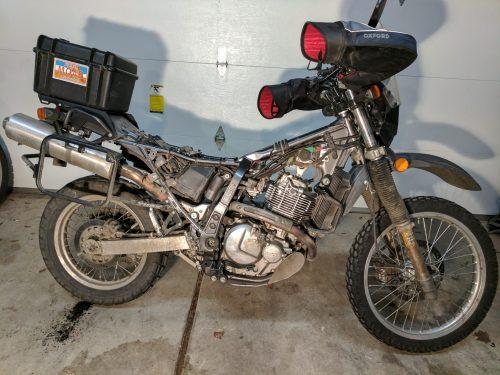
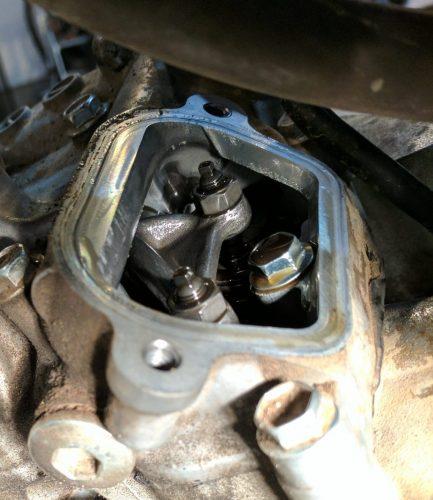
With a cold engine for proper valve clearance measurement, give your bike a wash or sponge bath. Letting the bike cool off overnight is recommended as the valve lash needs to be measured with a cold engine. On my bike, I needed to remove the side panels, seat, and gas tank. This gives access to the valve covers.
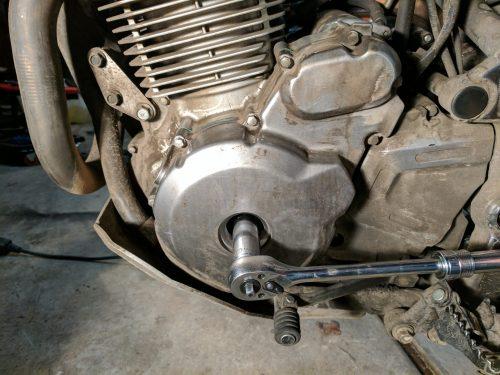
Remove the valve covers, spark plug covers, timing inspection plug and the crankshaft access plug. Loosen one of the spark plugs a bit to let the compression out of the engine. To properly adjust the valves, you must get your engine to Top Dead Center on the compression stroke. Most motorcycles have a method to measure where this top dead center is, such as a timing mark.

Turn the bolt under the crankshaft access plug counterclockwise until you see the line with the “T” next to it through the timing inspection hole.
When you find this, make sure this is happening during the compression cycle; you’ll know it’s the compression cycle because you can wiggle the rocker arms slightly up and down and they should both be in their most upward position.
You are now ready to inspect your valves. In my opinion, this is more art than science. Valve feeler gauges come in sizes that vary from .03mm to 1mm.
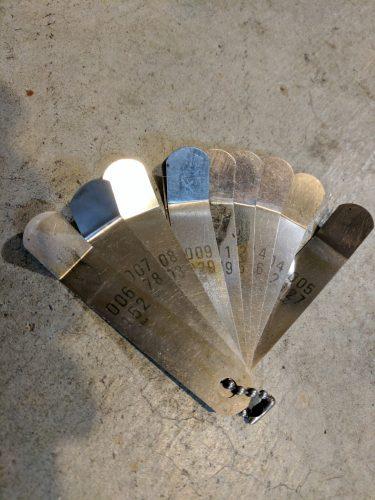
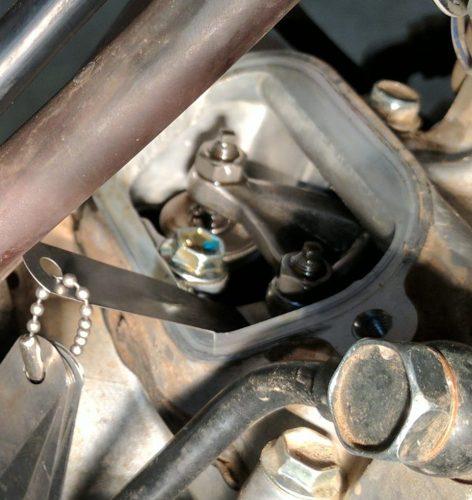
In your service manual, you’ll find a range of specs for your bike. The current model DR650’s specs are Intake: .003mm – .005mm Exhaust: .007mm – .009mm. Since you have gone to the work of taking your bike apart, and over time valves are expected to tighten, it is typical to use the largest gauge that is in spec. You’ll slide your feeler gauge between the adjuster and valve stem, and again, this is an art and a feel.
What you want is the feeler gauge to slide in smoothly, but with a slight amount of drag, as if your motorcycle wanted to keep your feeler gauge, but acquiesces in giving it up. If your bike holds on firmly, your valve is too tight, and if your bike gives it up freely, your valve is too loose.
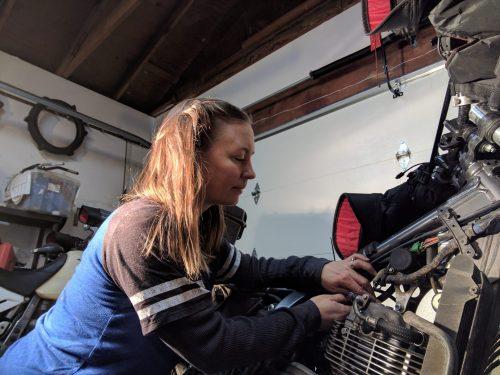
As predicted, my valves were tight. My valves use a valve clearance adjustment driver as the tool for adjustment. I’m pretty sure three hands would have been helpful for this process, but adjusting valves is a job that can be done by one person in about thirty minutes.
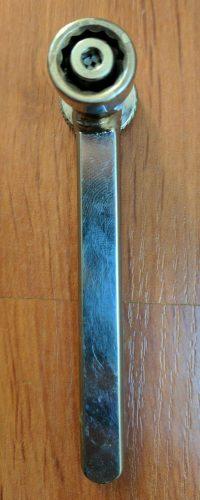
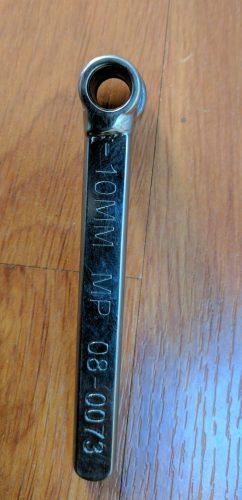
This tool has two pieces that fit inside of each other.
The first is a socket (10mm for this bike) that has a hole all the way through.
The second is a knob with a square inset to fit the top of the square heads on the valve.
You first use the socket to loosen the valve nut, and then use the knob to loosen the valve.
Use the feeler gauge in one hand and turn the knob with the other until you feel just the right amount of drag.
Know that when you tighten the nut, the valve will tighten slightly.
Adjust all four valves, and then recheck them as if you were not the one who just adjusted them.
Once all four valves are in spec, it is simply a matter of putting the bike back together. Since you loosened your spark plug, makes sense to pull that out and take a peek. Put your bike back together and start it up! Listen for clicking clacking, which would indicate you left your valves too loose.
What could possibly go wrong?
The timing inspection plugs are made of a very soft metal. You may accidentally strip it, have to chisel it out, and steal your husband’s plug to test your bike.
You may have your mentor come check your valves, and because of the subtle art of properly adjusted valves, he may tell you to loosen and tighten multiple times.
You may forget about needing TDC to occur during the compression cycle. If so, you will get your bike completely back together and hear clack clack clack clack. Then you get to do the valve adjustment all over again for the second time.
I’m not saying any of these things happened to me, but if they did, they were an excellent learning experience. Evidence: my first valve adjustment took 3 hours and my second valve adjustment took 30 minutes.
previous post
2 comments
.003 mm to 009 mm ? I’ll bet its inchs not mm. Still a good write up,nice job.
Thank you, well written and a great guide. The .003 etc are inches not mm. That tricked me up looking for that size. Haha