The Tool Box
BY KATHERINE HELMETAG
You are getting ready for your first big trip and you know you are going to have to bring some tools, but what to pack in your tool box? The first thing is your brain and your common sense.
The Tool Box: You are the Tool
Adventuring motorcyclists know that eventually, and usually in the worst possible location or at the worst possible time, something is probably going to go wrong with the bike or a bad situation will lead to compromised rideability. Riders need to prepare not only their bike and tool box, but themselves for this event. That’s right, the most important tool you have on your bike is you.
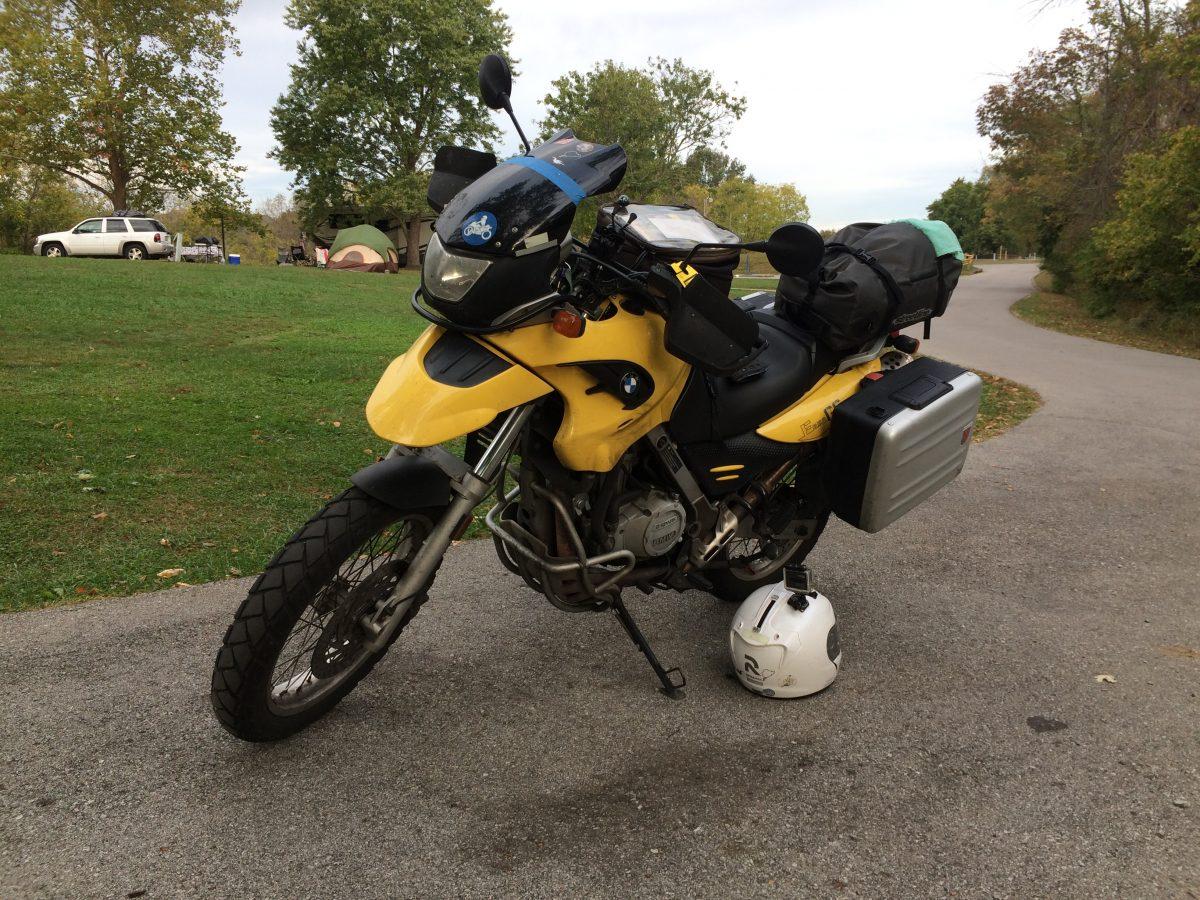
I’d like to start with some personal experience, because hopefully, it’s something you can relate to. I was riding in the Alps on a lovely trip to France, going over the Little Saint Bernard pass, when I came around a hairpin and faced a very slow vehicle. So slow that even at hairpin speed, I had to slow dramatically to either hold position, or set up a swerve. Well, between the rain, a rental bike that I didn’t have the best reflexes for, and some personal distraction, I found myself and the bike on our collective side. The driver of the painters’ van behind me helped me lift the bike, which was rideable but needed help.
The forks were twisted pretty badly. Other damage included some fairing “decoration” and visible wear to the right lever, but thankfully nothing to the motor or frame. No cell service made it even more imperative to get off the pass, as stuck on the side of the road on a hairpin is not a safe place to be. I chose to ride the bike – with the bars crooked at a 15° angle – up to the top of the pass. I ended up riding it further (after I’d calmed down) in that condition to a shop about 30km away, where they had the correct Torx bit to get the forks sorted properly for me. It wasn’t fun, but the alternative was to wait in a physically dangerous place with a sort-of-broken bike – not a good idea at all!
What this taught me
This “adventure” taught me two things about my tool box on the road, both of which involve planning ahead.
First, I am my most important tool. Your decision-making skills are going to drive a lot of the way forward for minor and non-catastrophic repair needs. When you are riding overland, knowing where safety is and how to get there is critical. With a rideable bike, options expand dramatically. It would have been a different story if I had broken a fork tube. I would have been out of commission, relying on my safety triangle and luck to avoid injury or worse.
Calling roadside or a friend is never something to be ashamed of when your bike is down. To find the shop, I did call the ADAC – the AAA of Germany – who gave me the addresses and phone numbers of three shops within 50kms. Riding over the pass with my bars cocked to the side was not easy, but it was surprisingly less bad than I feared, and looking back at it, I was probably on serious adrenaline. I know ladies who have ridden several kms on flats because safety is paramount and there was simply no other way to deal with their situation. Using your head to get to safety is the first step to getting your bike on the road.
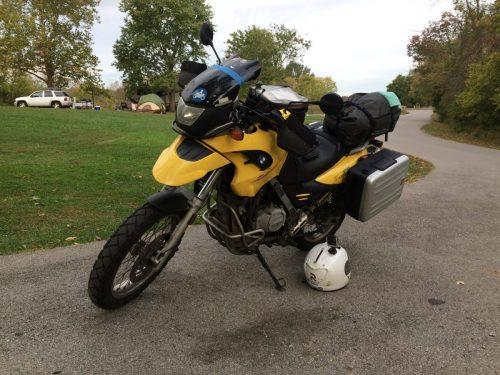
Secondly, tools only work if they match your bike. I’m an experienced wrench and have built up (from the frame) my own bike. My tool kit is pared down to the bare bones required to work on a 2004 F650GS. Therefore, it is missing a lot of bits that might be necessary on another bike – like the rental bike I had in France. Had I visited a dealer at home to suss out which bits would be needed for the rental (and packed them), I likely would have been able to fix the fork issue on my own at the top of the mountain or even at a turnout on the pass road. I love to laugh at the heavy all-purpose tool kits sold by so many adventure moto shops, but they have a purpose – if you aren’t sure what to pack, packing everything can be a very good idea. I’ll address how to choose what to pack in a future column.
The important takeaway from this is that riders should prepare themselves both physically and emotionally for the possibility of a downed bike. Depending on where you are, it could be as simple as cell phone and credit card, or as complicated as epoxying a new clutch cover out of a foil gum wrapper (which I can explain how to do). Ask yourself up front – how will I handle a mechanical failure or a damage to my bike? A few tears aren’t out of the realm of appropriate response, either. Outright bawling in some cases, assuming you are safely located. Try to sort out how you handle issues in the best of conditions – at home, near your dealer or shop, when time and danger aren’t issues, and then consider how danger, time pressure, and distance would impact your response.
There are many repairs that you might never take on by yourself at home, but might need to deal with on the road. Tube tyre issues continue to be my bane – I’m barely able to remove a tyre from my little dirt bike, and the idea of scratching up my pretty aluminium rims on the BMW is just horrifying. Practicing various repairs is good idea – one of these days I will get those tyres back on on the first try without pinching the tube. It will build your confidence and help you acclimate to the idea of moving forward after a problem.
The Tool Box: Why We Pack Tools
My pair of twisted forks isn’t the be all-end all of bike damage, though. It’s just one of many issues that can crop up when riding overland, whether you are going ‘Round the World or to work. Let’s take a tour of some of the more common failures you might encounter and want to be prepared for.
Batteries
One thing that is sure to put you on the side of the road is a dead battery. Batteries die for a variety of reasons, among them vibration, age, poor charging, and damage. The key to a dead battery fix is understanding how it happened and preventing it from happening again. For example, a crash or hard landing could cause the plates in a lead-acid (wet) battery to detach from the poles, leading to low voltage and eventual lack of starting or running. A problem in the charging circuit will lead to a drained battery or an overcharged one. Age of a battery can become important if there were periods of time where the battery was not properly stored during periods of disuse. One of the more common issues among ADV riders is overdraw of current – if the charging system is working but can’t keep up with the accessory draw, your battery will be flat in a hurry. Once you figure this out, you can decide on whether to attempt a recharge or replace. If you store your bike over winter (or other time not conducive to riding) you have a great opportunity to practice battery work by removing the battery prior to putting it on a tender. While you are at it, have a look at the wiring loom, checking for burnt or worn spots that could be issues down the line.
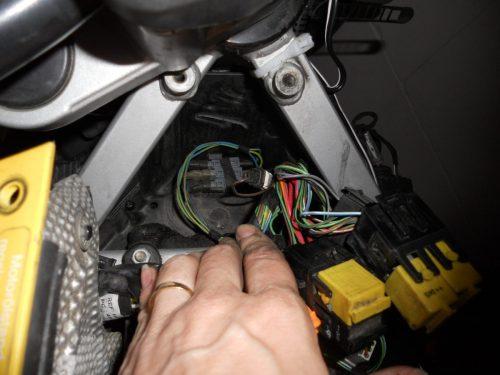
Batteries have this nasty habit of living under fairings, so it’s a good idea to get familiar with pulling your fairings and putting them back on. I can’t impress on riders enough how important it is to be familiar with the “underside” of your bike. You need not be a certified mechanic, but you should be able to look over the shoulder of one and have a general clue of what they are talking about and/or working on. Searching YouTube for videos of motorcycle manufacture (and watching them) is another way to get an idea of what might be hiding under plastics.
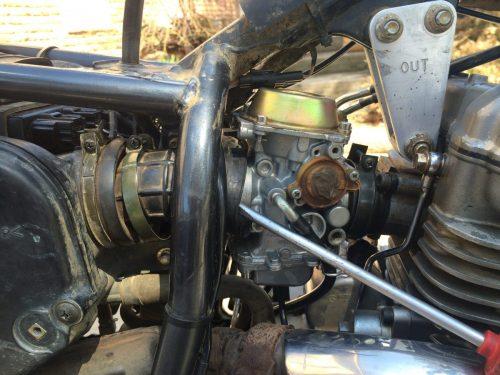
Air and Fuel
While you’re under there, you can become familiar with the other common failure that is part of life with motorcycles – air and fuel issues. Too much and too little fuel or air will be a problem. Issues to be aware of are clogged air cleaners (generally easy to clean out) and clogged fuel filters (a little more complex, but doable). Hoses can kink and tear, too. Electronic fuel injection is generally a godsend to the overland rider because it eliminates 99% of adjustments and potential issues with fueling, but it’s also less friendly to roadside repairs, as a computer is often needed to set it completely right. A carb, on the other hand, can be cleaned up and and tweaked into functioning with a bit of effort. Typical carburetor issues include fuel level issues (broken floats, failed float valves), dirty jets, and torn CV diaphragms. Carbs do suffer some wear, particularly in harsh environments with lots of sand and dust, and learning the basics of teardown, cleaning, and reassembly can keep you out of the shop and on the road.
Alignment
I mentioned the fork twist issue, which I’d like to lump into a group of problems I call alignment issues. Most of these are fixable on the fly or possible to ride out – twisted forks, bent handlebars, smooshed engine baskets, bent brake levers, anything that is attached to the frame with a bolt less than 6mm in diameter is probably field-serviceable with some tools. These kind of problems are usually crash-related – you’ve bumped your bike into something pretty solid and it has yielded to the stress. I am sure a two-sided swingarm (that’s a big bolt) could be coaxed back into serviceable alignment with a big enough stick or branch, but that’s not the kind of repair you want to be making roadside. Besides, if your situation has resulted in a bent swing arm, you might be in worse shape than you realize. The rest of it is brute force and leverage away from being rideable or removed and no longer an issue.
Tyres
Tyres are just a pain in the butt! And tube tyres, well, I have words for them, too. You should become familiar with the tyre changing operation required for your bike. Tubeless tyres can be plugged and re-inflated on the fly, one of the greatest reasons to run them. Tube tyres require removal of the tube, patching or replacement, and re-installation. What about a bent wheel? Yikes. The only way out of that is a couple of big rocks, which is probably exactly how you got into it.
Suspension, Brake, and Drive
Suspension, brake, and drive failures and damage are rarely repairable without spares. Like the bent swing arm, if it has gone this far, you might be in more trouble than you realize. Replacement of brake linings and discs or fluid changes is roadside doable in some cases. Failed shocks are miserable to ride on, but safety and replacement parts can require it. Broken springs, not so much. Broken chain, actually super easy, as long as you have a spare.
Engine and Transmission
One type of repair that is really difficult to plan for is damage to the engine and transmission themselves. A clutch cable can be replaced with a bit of string for a while, but there is no replacement for second gear. Or a camshaft for that matter. You can, however, be prepared to work on your cases. If a crash or other bike injury resulted in case damage alone, it is entirely possible (given a bit of time and some supplies) to get your bike back on the road. These scenarios illustrate the need for your tool box; my next article will focus on tools and critical spares for the road.
Katherine’s bio – A late bloomer in motorcycling, Katherine got her license in Germany at 42 after many years of building and racing cars and other non-traditional hobbies. Katherine is a scientist and engineer and loves to deconstruct and reconstruct everything, from maps to houses to motorcycles and motorcycling. Ask technical questions, and be prepared to get an answer! Check out her blog HERE!
previous post